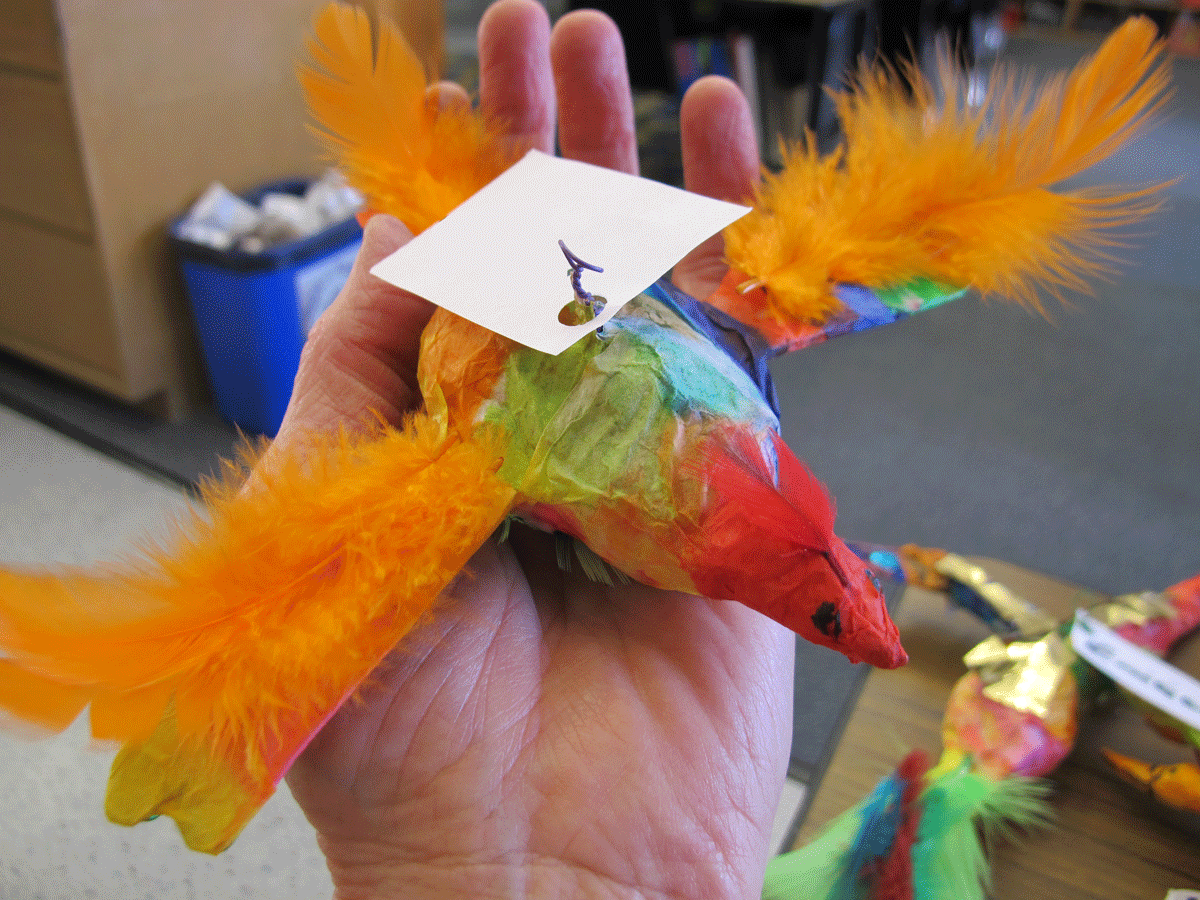
This is my latest art lesson for my granddaughter's 4th grade class. We made tissue mache birds. The body is crumpled newspaper, taped, a wire going down through the center has a loop on top for hanging. Four cut pop sticks are pushed into the body and glued, for the head, tail and two wings. The heads are foil and cut out pieces of cardboard are the wings and tails.
The underside of the armature, before the tissue mache.
After just one layer of white tissue paper--(applied using a paint brush with wheat paste), the student's were able to put on a layer of color. I propped them up with tubes, so their wings could dry without bending.
For details we used a black marker, feathers, sequins, and a gold leaf paper. The white cards are name tags.
This project took four lessons at about an hour each--the birds were a challenge for the student's to put together--I'd rethink the construction part before doing this lesson again, but I really like the results!
This blog started with small daily paintings then changed to a more personal sharing of projects, events and photos. Enjoy!
Showing posts with label paper mache. Show all posts
Showing posts with label paper mache. Show all posts
Saturday, February 15, 2014
Friday, May 3, 2013
A Sculpture Project
I decided to teach a small sculpture project for my granddaughter's third grade class. I made up a sort of kit for each student--we all started out the same, but these animals will all be different.
The student's twisted the newspaper, knotted a head, threaded it through the tube and taped it to form the head, neck and tail--lots of masking tape is needed.
These are taped together and ready for the paper mache.
Today was paper mache day! This step was a bit tough for the students. They put on a layer of newspaper and then the last layer of white tissue paper--(the tissue goes on dry and is painted on with a brush dipped in wheat paste). The last step was to form ears with a few strips of plaster gauze.
I did stay later to touch up the ones that were threatening to fall apart--most of these will be able to stand on their own. Next week, we paint and add details--I'm curious to see how they'll come out.
Subscribe to:
Posts (Atom)


