This blog started with small daily paintings then changed to a more personal sharing of projects, events and photos. Enjoy!
Wednesday, March 6, 2013
Tuesday, March 5, 2013
Another Try at a Pine Needle Basket
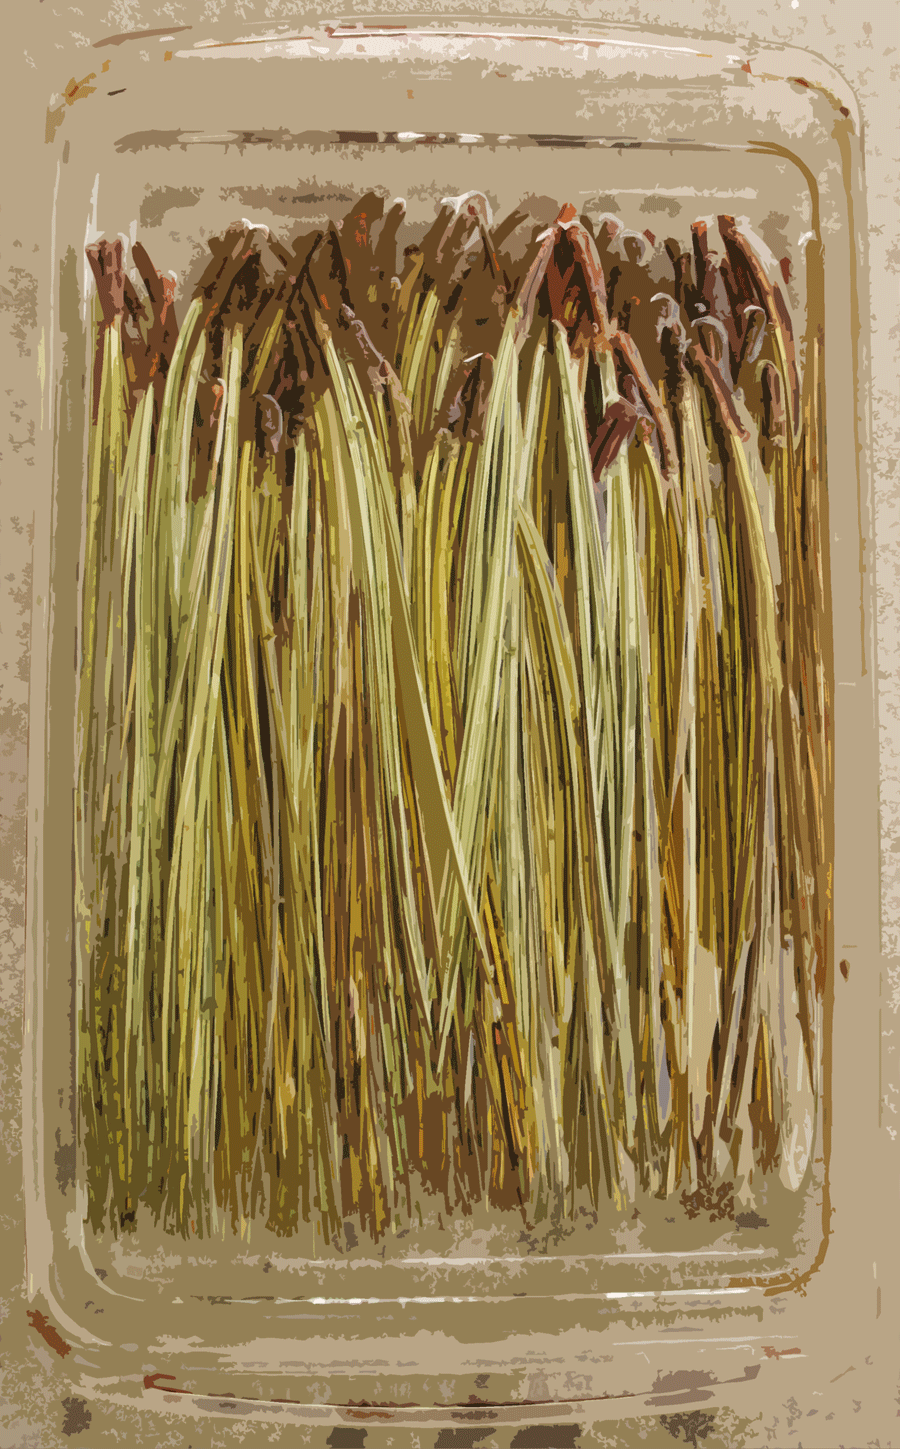
I found out that I shouldn't have used really wet pine needles in my last little basket--the needles shrunk but the stitches didn't and my basket is wobbly. I was inspired to try again after meeting a very talented basket maker on the way to my granddaughter's bus stop yesterday! She happened to be showing her baskets at her campsite. I didn't have my camera and I didn't even ask her name! But I did ask a few questions about preparing the needles.
After collecting the needles, let them dry out--these have been tucked away in a draw for a month? Should be dry enough? Wash them--I used boiling water and just a drop of dish soap. Let them dry and then use them! But the needles that start the basket--the ones that have to bend quite a bit--those needles need to be soaked! I have so many more questions--I wish I could have watched her at work!!
Sunday, March 3, 2013
Field Trip to the Landfill
I went on a field trip with my granddaughter's third grade class to Cold Canyon Landfill.
We probably, all of us, would have rather been at the beach on such a beautiful day, but this process of dealing with so much trash is a good thing for students or for anyone to see. Even though it looks like we're standing on regular dirt, we're not--the whole area--I think 150 acres is compacted trash layers.
Trash that is thrown out, is not picked through--it all goes on the ground creating a flat? or a level? anyway...a layer of trash on top of a plastic ground water protector, then dirt, rocks, more trash and so forth till they reach a level where grass is planted on the top. They have to stop at a certain height, then use more land. I could have the order of the levels mixed up, but what is important to remember is that whatever you throw out goes into the ground. There is way too much plastic!
This machine rolls over the day's trash crushing it down. This person drives back and forth over this newly dumped area of trash all day! The kids were more excited than I to see this little explosion--something popped under those big metal wheels and emitted this yellow cloud that slowly drifted our way--lovely.
What I learned...If you don't know if something is recyclable, recycle it, because the recyclables do get picked over, your trash doesn't!
We probably, all of us, would have rather been at the beach on such a beautiful day, but this process of dealing with so much trash is a good thing for students or for anyone to see. Even though it looks like we're standing on regular dirt, we're not--the whole area--I think 150 acres is compacted trash layers.
Trash that is thrown out, is not picked through--it all goes on the ground creating a flat? or a level? anyway...a layer of trash on top of a plastic ground water protector, then dirt, rocks, more trash and so forth till they reach a level where grass is planted on the top. They have to stop at a certain height, then use more land. I could have the order of the levels mixed up, but what is important to remember is that whatever you throw out goes into the ground. There is way too much plastic!
This machine rolls over the day's trash crushing it down. This person drives back and forth over this newly dumped area of trash all day! The kids were more excited than I to see this little explosion--something popped under those big metal wheels and emitted this yellow cloud that slowly drifted our way--lovely.
What I learned...If you don't know if something is recyclable, recycle it, because the recyclables do get picked over, your trash doesn't!
Monday, February 25, 2013
Art Box
We took turns carrying the art box--it wasn't that heavy, but besides art supplies, it held our snacks and a book.
We hiked to the top of Black Hill where we found daffodils growing and swallowtail butterflies chasing each other around in numbers!
For my granddaughter's ninth birthday, my son refinished this old box, even taking off the hardware--the metal corners to polish them up. I love the red handle!
Her magic art box!
Thank you Uncle George!!
We hiked to the top of Black Hill where we found daffodils growing and swallowtail butterflies chasing each other around in numbers!
For my granddaughter's ninth birthday, my son refinished this old box, even taking off the hardware--the metal corners to polish them up. I love the red handle!
Her magic art box!
Thank you Uncle George!!
Thursday, February 21, 2013
One Last Thing
I thought I was done, but those dangling strings needed something! I hope the students don't mind that I added these little coins!
Done! They'll go back to the classroom tomorrow.
Wednesday, February 20, 2013
A Printing Lesson
Here's the last art lesson I taught in my granddaughter's third grade class. We made prints from a "plate" we created with flat found objects glued to a mat board.
I had the student's smear the glue onto their mat board like a thin layer of icing, plenty of glue to adhere the found objects and then more glue from the bottle if they built up a second layer--(three layers would be too high for the printing)
I took the plates home after they dried so I could spray them with a coat of clear acrylic. One of the prints we made is an embossing using a damp piece of paper--without the acrylic coating, the paper would stick to the plate.
I've found the best way to get a good clear embossed image, (when you don't have a printing press), is to sit on it! The kids liked this part.
Our first print was a rubbing with an oil pastel on a thin and flexible paper, the second print was the embossing using white construction paper dipped in water and blotted with a towel, the third print was done with paint--we painted the plate to print on the orange construction paper--some students made another print using their paper towel (this was done without adding any more paint), which came out to be sort of a print and an embossing at the same time. For display, I collected everything and strung them to hang with their plates at the top.
There's a lot of prep for this lesson and if I were teaching many classes again, I wouldn't be stringing these up for display--takes too long, but I now only volunteer in my granddaughter's class, so I'm doing some things that take a little longer.
I had the student's smear the glue onto their mat board like a thin layer of icing, plenty of glue to adhere the found objects and then more glue from the bottle if they built up a second layer--(three layers would be too high for the printing)
I took the plates home after they dried so I could spray them with a coat of clear acrylic. One of the prints we made is an embossing using a damp piece of paper--without the acrylic coating, the paper would stick to the plate.
I've found the best way to get a good clear embossed image, (when you don't have a printing press), is to sit on it! The kids liked this part.
Our first print was a rubbing with an oil pastel on a thin and flexible paper, the second print was the embossing using white construction paper dipped in water and blotted with a towel, the third print was done with paint--we painted the plate to print on the orange construction paper--some students made another print using their paper towel (this was done without adding any more paint), which came out to be sort of a print and an embossing at the same time. For display, I collected everything and strung them to hang with their plates at the top.
There's a lot of prep for this lesson and if I were teaching many classes again, I wouldn't be stringing these up for display--takes too long, but I now only volunteer in my granddaughter's class, so I'm doing some things that take a little longer.
Monday, February 18, 2013
Thursday, February 14, 2013
Black Feathers on Valentine's Day
I sewed wings for my granddaughter's costume. It's dress rehearsal today--Valentine's day--She'll be doing a ribbon dance to the Beatles song, "Black Bird".
Finishing two projects to be ready today!
I remember reading somewhere that when Native Americans would dance, it was a bad sign if any little detail, a shell, a bead, a feather should fall off. I couldn't help but think of this, while trying to attach these feathers; knowing they'll become wings that will fly all over the stage. Feathers are tricky! I sewed through the spine, knotted and glued the beads, then double knotted each one onto a crocheted strand of eyelash yarn. I feel pretty confident they'll stay on through the wildest dance moves!
Happy Valentine's Day!
Finishing two projects to be ready today!
I remember reading somewhere that when Native Americans would dance, it was a bad sign if any little detail, a shell, a bead, a feather should fall off. I couldn't help but think of this, while trying to attach these feathers; knowing they'll become wings that will fly all over the stage. Feathers are tricky! I sewed through the spine, knotted and glued the beads, then double knotted each one onto a crocheted strand of eyelash yarn. I feel pretty confident they'll stay on through the wildest dance moves!
Happy Valentine's Day!
Tuesday, February 12, 2013
Valentines
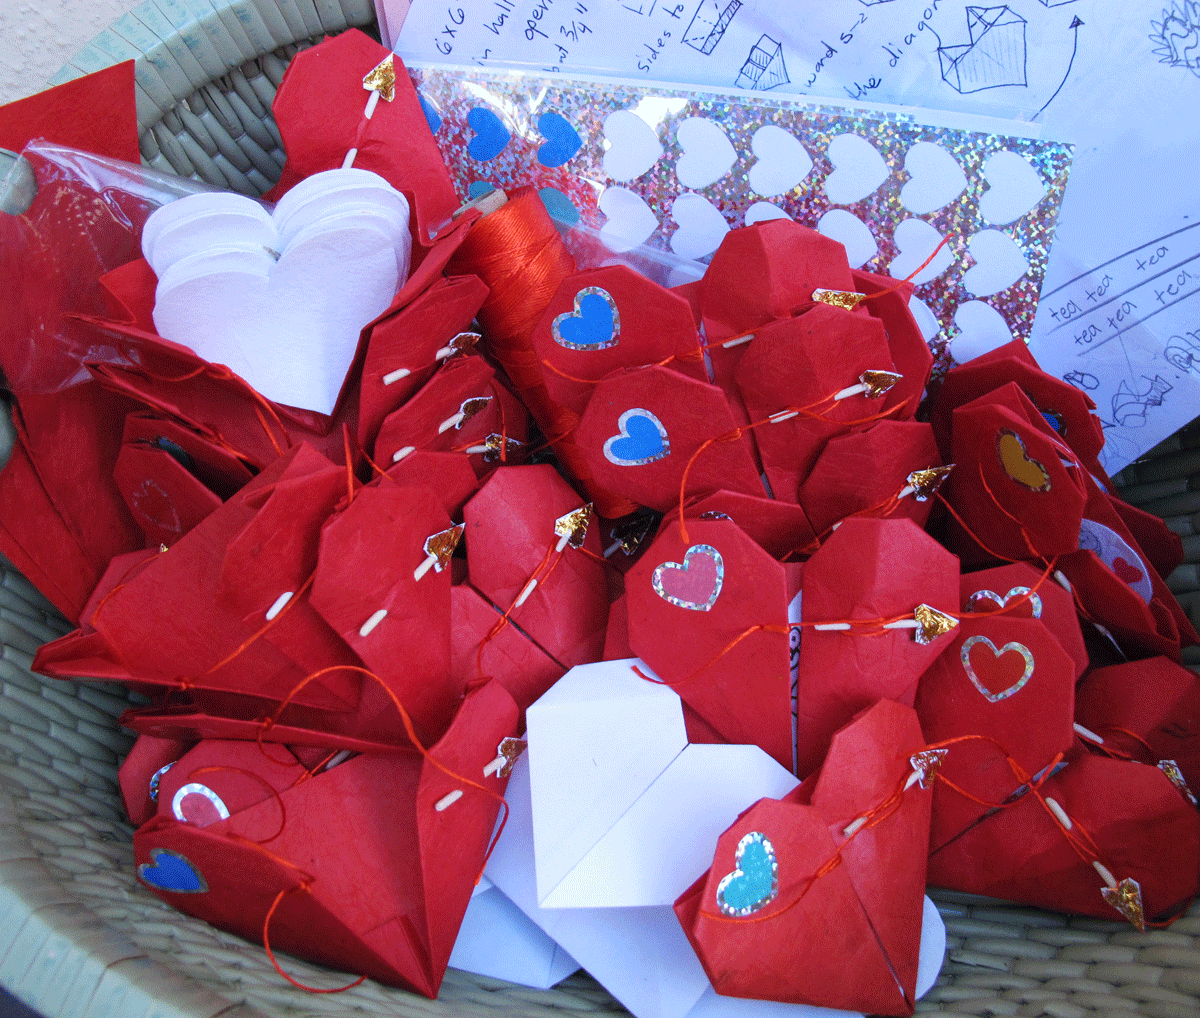
Here's where the golden arrows landed! We found an easy to fold origami valentine, and made them into cards for my granddaughter to pass out to her classmates.
I think they could also be made into spaceships.
We changed the folding directions just a bit so these could open enough to insert a message.
And some very cute drawings!
This was an easier project than what we did last year!
I think they could also be made into spaceships.
We changed the folding directions just a bit so these could open enough to insert a message.
And some very cute drawings!
This was an easier project than what we did last year!
Thursday, February 7, 2013
Little Golden Arrows
My granddaughter and I are making valentines for her class. These tiny arrows will be part of the valentines--(you'll see the cards soon), but first, a few pictures while I have the arrows all together...
These are made with toothpicks, paper and golden glitter.
Thursday, January 31, 2013
Pots in the Making
I finished this series of eucalyptus pots last night--I should have been putting my granddaughter to bed, but instead I had to play with my pots--I felt compelled to stack them for a photo shoot.
Here's a few pictures of them being made...
Sanded, painted with holes drilled...
Lids attached, toothpicks whittled and the flat beads drilled...
Pine sap collected--a sticky job...
A fresh batch of pine sap, beeswax, and crushed charcoal, to glue the toothpick inside the pots and on the ends of the beads--another sticky and dirty job...
Strings attached with small beads for closing...
My type of fun!
Here's a few pictures of them being made...
Sanded, painted with holes drilled...
Lids attached, toothpicks whittled and the flat beads drilled...
Pine sap collected--a sticky job...
A fresh batch of pine sap, beeswax, and crushed charcoal, to glue the toothpick inside the pots and on the ends of the beads--another sticky and dirty job...
Strings attached with small beads for closing...
My type of fun!
Wednesday, January 30, 2013
Sycamore Leaves
I noticed that the sycamore leaves blowing off the tree, took their time to reach the ground; they flew, fluttered, glided swayed and changed directions--slow enough to catch, but unpredictable enough to make a great game of trying to catch one.
We waited for gusts of wind--missed many--but then Grampa caught one--I caught one and finally my granddaughter caught hers. We never let them touch a surface, not even a table top, and strung them up with thread. Leaves that have never touched the ground!
Sunday, January 27, 2013
More Pots
I'm making more little pots from eucalyptus seed pods--I tried out a basket type lid with pine needles and rattan. These are very tiny pots and can only hold very tiny things. The black glue on the ends of the beads is made of melted pine pitch, beeswax, and crushed charcoal.
Subscribe to:
Posts (Atom)